
Lighting can be overwhelming to explore if you’ve never tried it before or don’t have someone to show you first-hand. However, most portrait photography lighting techniques are not nearly as difficult as most people think. By using some simple tricks, a photo studio kit tools and a couple of basic accessories, you can get great results in no time. In fact, it’s arguably easier to use studio lighting than off-camera flash. Ready to master photo lighting?
Simple Studio Lighting Setup Tips:
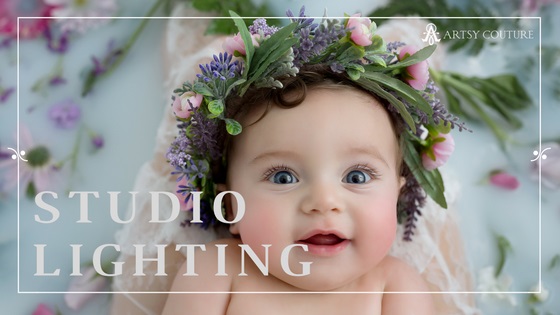
- Light stands should be used to support your flash head and create the proper shadow and angle against a subject
- Flash heads with a switchable slave, which enables one flash to be triggered by another, can be a great investment and time saver
- Umbrella, or brolly, is the most standard accessory and is great for reflecting light into your subject – typically comes in white, silver or gold
- A softbox, which is a little more sophisticated than a brolly, can create an even softer and more flattering light
- Simple reflectors are extremely useful, especially if you’re using only one light source
Window Lighting Tips:
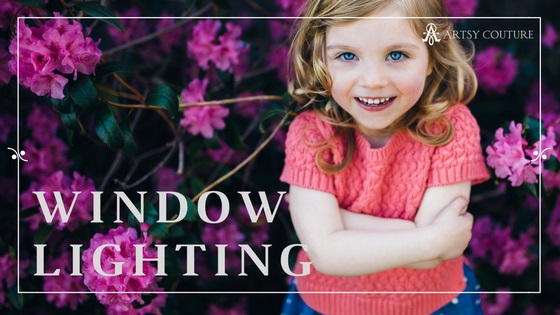
- Turn off pop-up flash, which can cause dark shadows, washed out faces and red-eye
- Stick with one light source and turn off all others (including indoor lighting)
- Use large windows and open doorways to start for your natural lighting
- Face subject towards open window source, with your back towards it for best lighting
- Turn subject at a 45-degree angle to window to add depth and natural shadows
- Check your catchlights, which should be reflecting off your subject’s eyes in a natural, warm way
Garage Studio Tips:
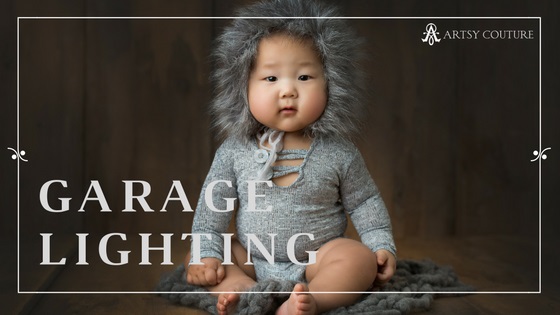
- Use backdrop stand and a roll of paper to create “studio” look
- Place subject facing light source, with your back towards it for best lighting
- The soft light will help with shadowing, but double check your catch-lights
Using Reflectors:
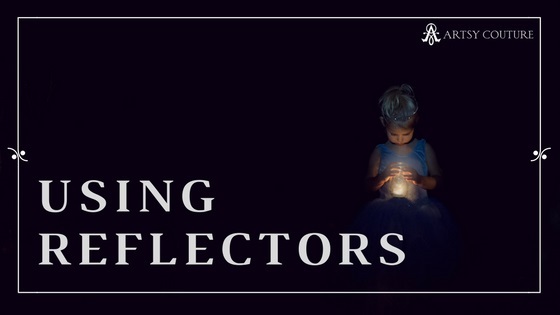
- Bounce light from flash source onto subject, and eliminate shadows
- Increase depth by adding a soft box of light to the left of the subject, creating a slight shadow on the right
- Even light spread by adding a silver reflector to your softbox setup by placing on opposing side of your softbox light source
- Warm a subject by using a gold reflector to your studio setup by placing on opposing side of your softbox light source
Do you have any photography tips you’d like to share with the Artsy Couture community? Send us a message at marketing@artsycouture.com to be featured in an upcoming blog post.
Enjoy this article? Here are a few other fun finds on the Artsy Couture blog:
- Pro Photographer’s Guide to Lightroom Editing
- 5 Tips to Help Your Creative Vision
- How to Instill Trust in Your Photography Clients

Special thanks to our Artsy Pro Photographers, Jessica Orlowicz, Ute-Christin Photography, and Meg Bitton, for your contribution to this post.