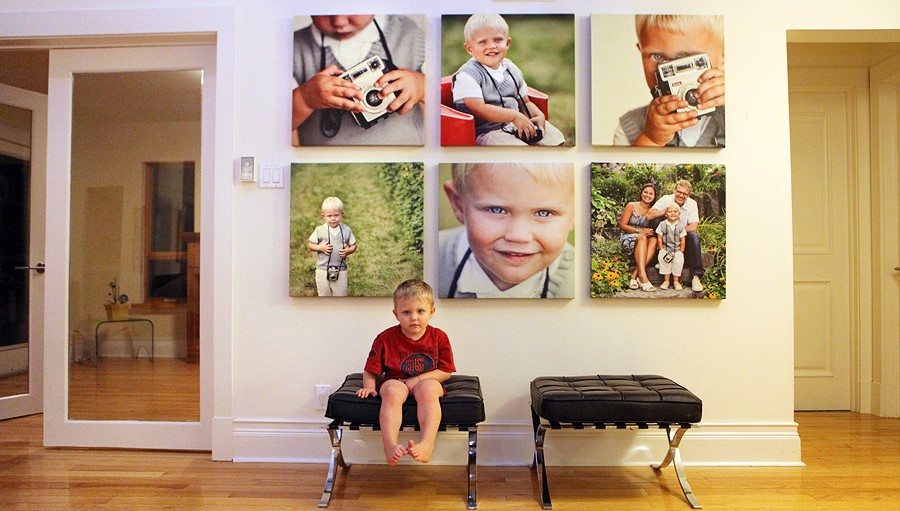
Gallery walls are a great way to bring character and life into any home or workspace. While the end product may appear seamless, the process of pulling together a well-designed wall is an art form all its own. But don’t worry, we’ve laid out a step-by-step guide on how you can design your own custom gallery wall in just 3 simple steps!

Before we get started, Here’s a few things you’ll need:
Let’s get started!
1. Get Creative
The first step in creating your gallery wall is to select a theme. Determine the types of images that you’d like to work with and add a series of other photos and artwork that fit the same style. Focus on bringing together color families, filters, and subject themes that work well together.
Things to consider when you are choosing your photos:
- Faces: Who are you including in your gallery? Will you include portraits, group photos, both?
- Color: Both in the artwork as well as in your space.
- Style: Whether your home is full of antiques or modern touches, you’ll want your gallery wall to feel like it’s truly a part of your home.
Once you’ve selected which images to use for your gallery wall, go through each one on your phone, tablet, or computer with an editorial eye to see how the images work together. This will help narrow down your choices and make a more harmonious composite.

2. Lay Out & Mock-Up!
Now that you have your perfect collection, it is time to lay out & mock-up! You will want to figure out how to best configure your artwork and images in the space you’ve designated. If you are using images of varying size, start by using the largest photo as a focal point and build outward. It helps to do this on the ground near your chosen wall so you can properly visualize the end product. Rotate your images to refine your layout and look.
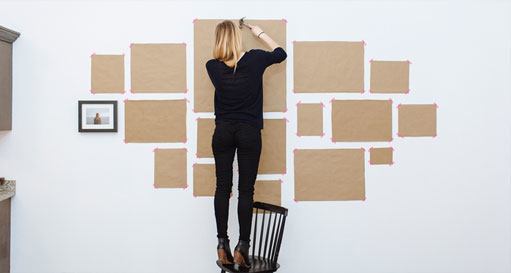
Once your composition is set, mock it up on the wall. Use trace paper for each piece, trimming them down to size, and taping them to the wall in your desired arrangement.
Things to consider:
- Is your arrangement high enough (or low enough) on the wall?
- Does it fill the space appropriately?
- Is it grouped around other furniture appropriately?
Need some extra help designing your wall? Check out Swift Gallerie’s FREE Guide to both sales and design tips for wall art!

3. Hang!
Hanging your work is the third and final step in creating your gallery wall masterpiece. If you’ve noted your hang marks correctly on the tracing paper, this should also be the easiest step! To be sure, measure twice and drill once. Use your cube level to check each piece of artwork as you’re hanging, to make sure that you’re frames are even. Take a step back after each one to make sure the placement looks correct.
Artsy Tip: If you live in a dry climate, consider using 3M frame strips.
Remember, this is your wall for your space. Have fun with the process and try mixing in different artwork media. Don’t hesitate to rotate your pieces from time to time, as it will keep the collage fresh and give your guests something new to look at each time they visit!

Like this article? Check out some of our other helpful posts!

