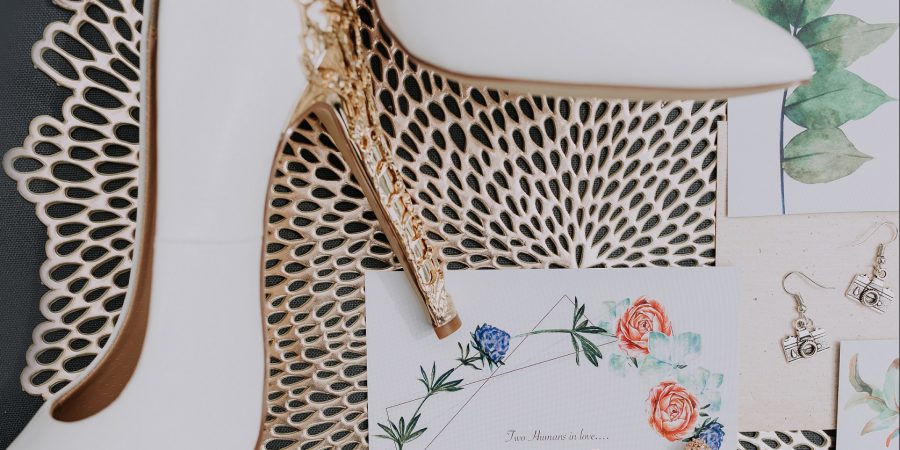
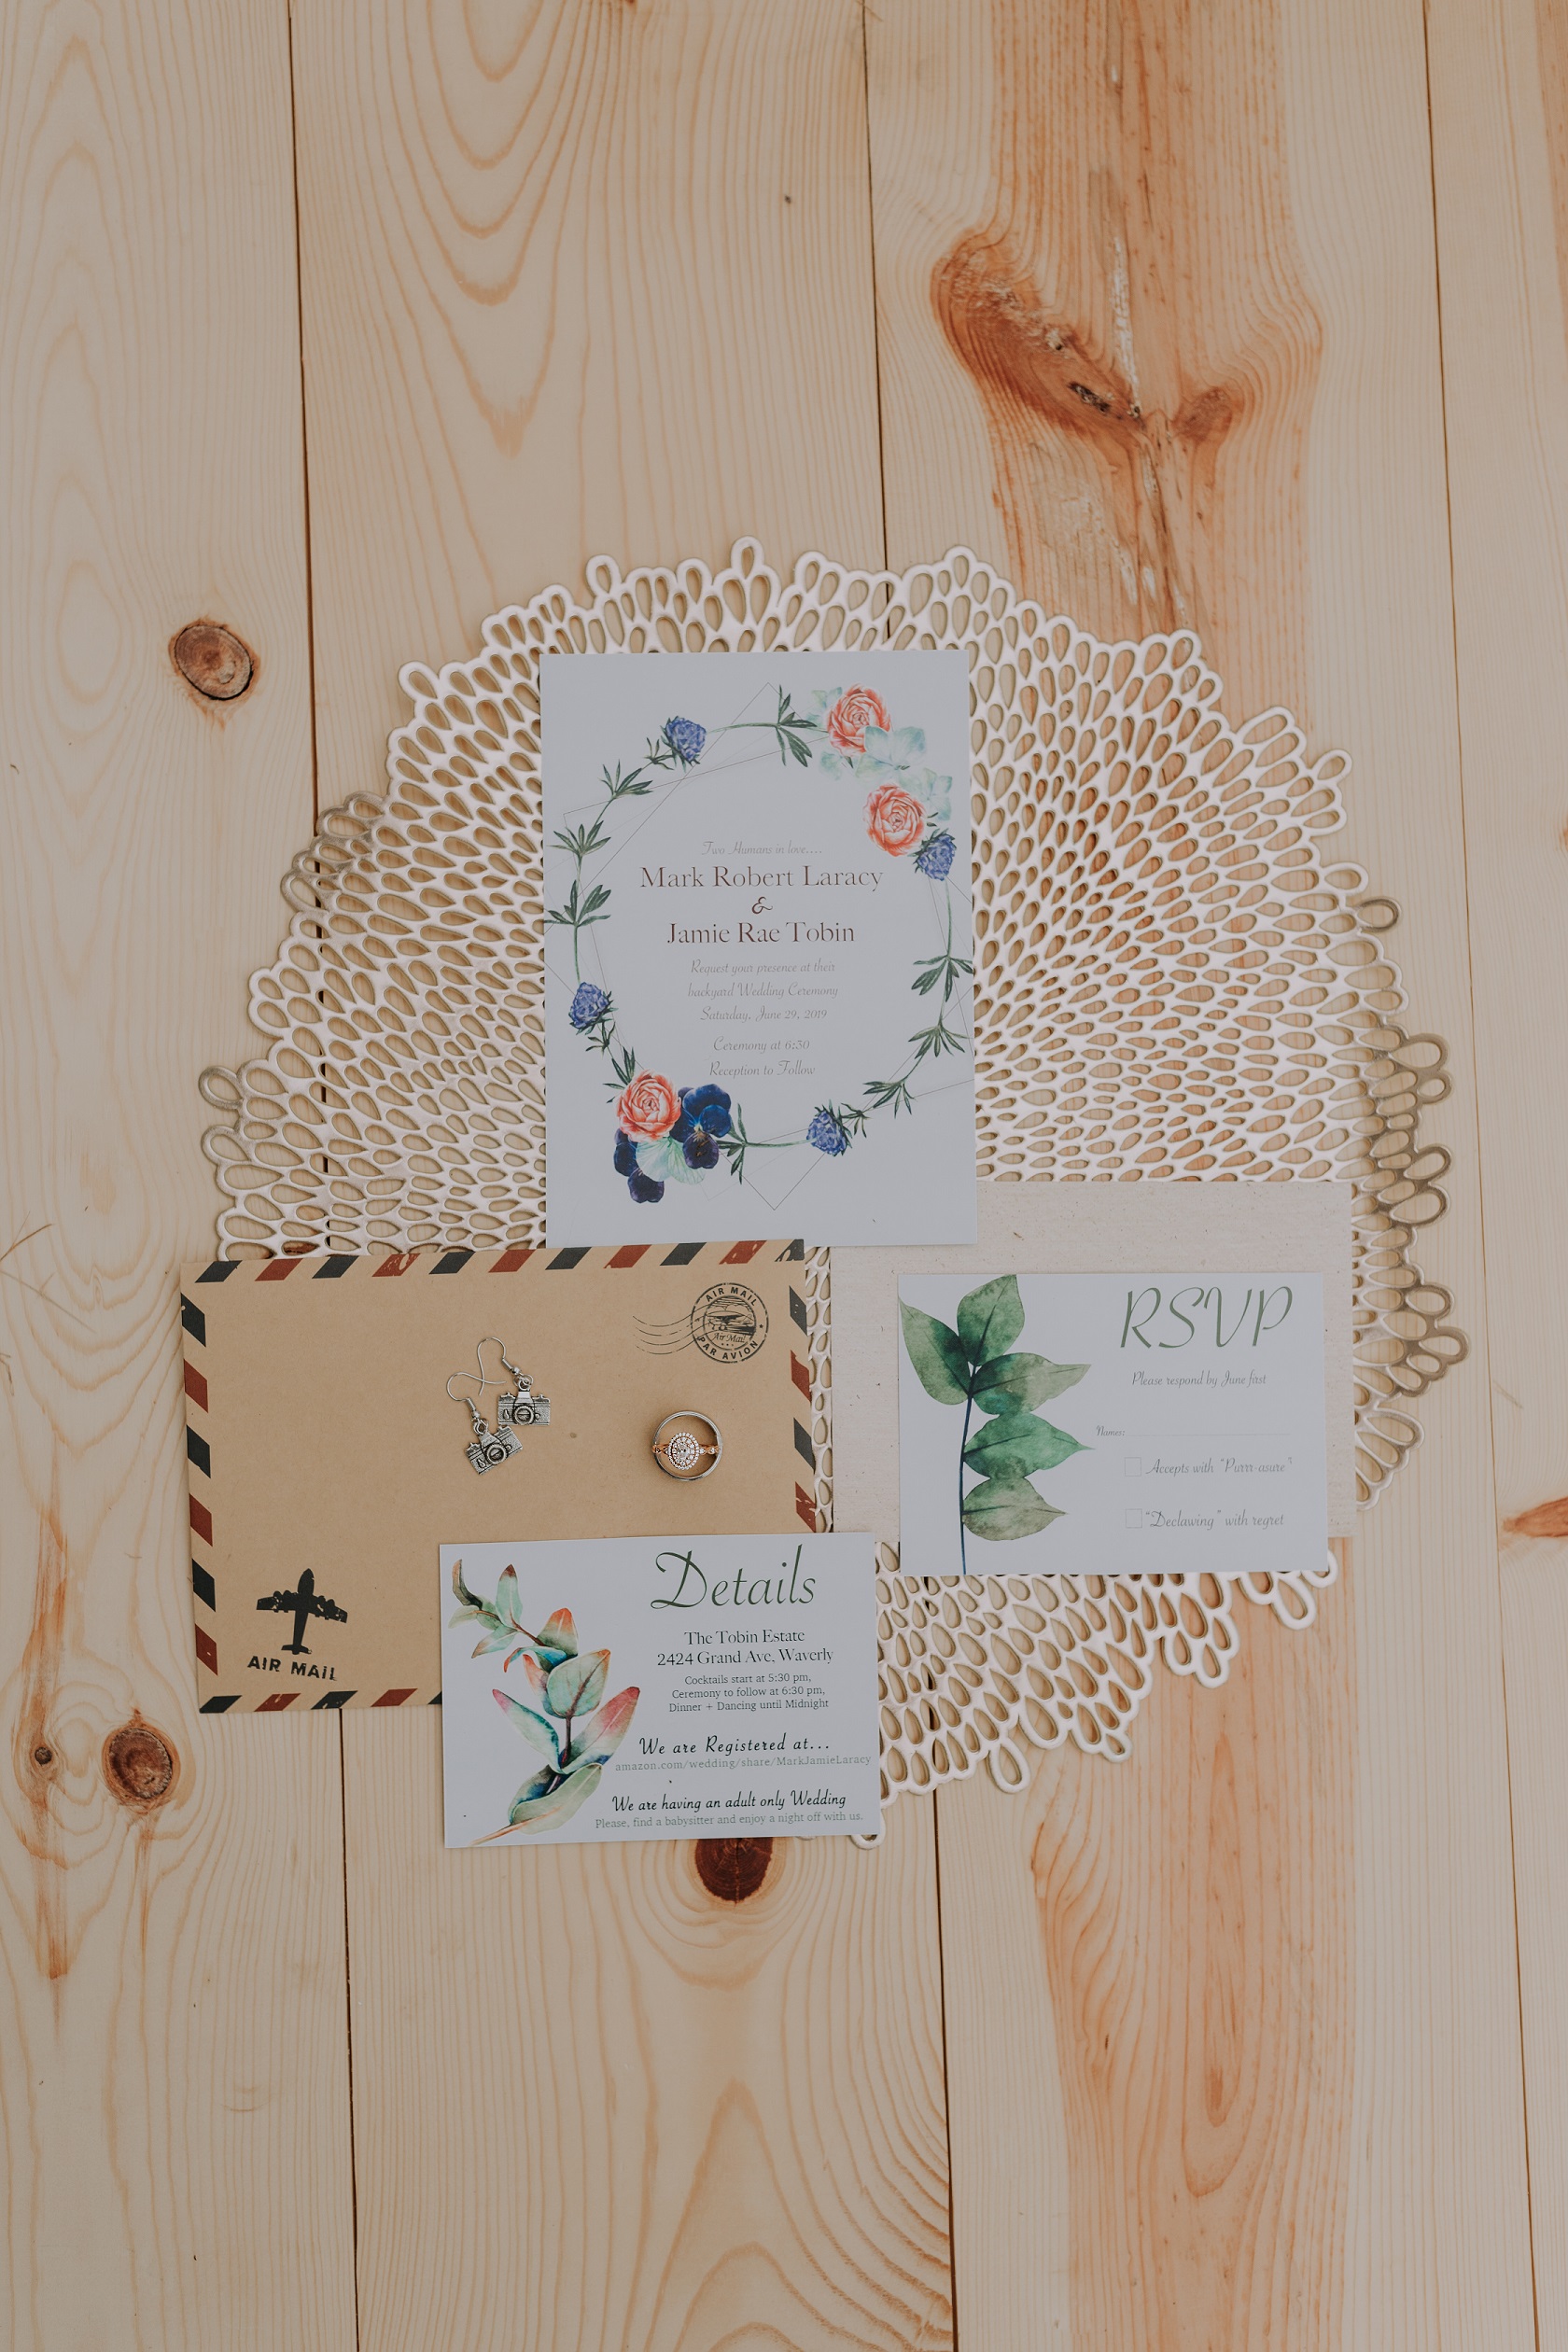
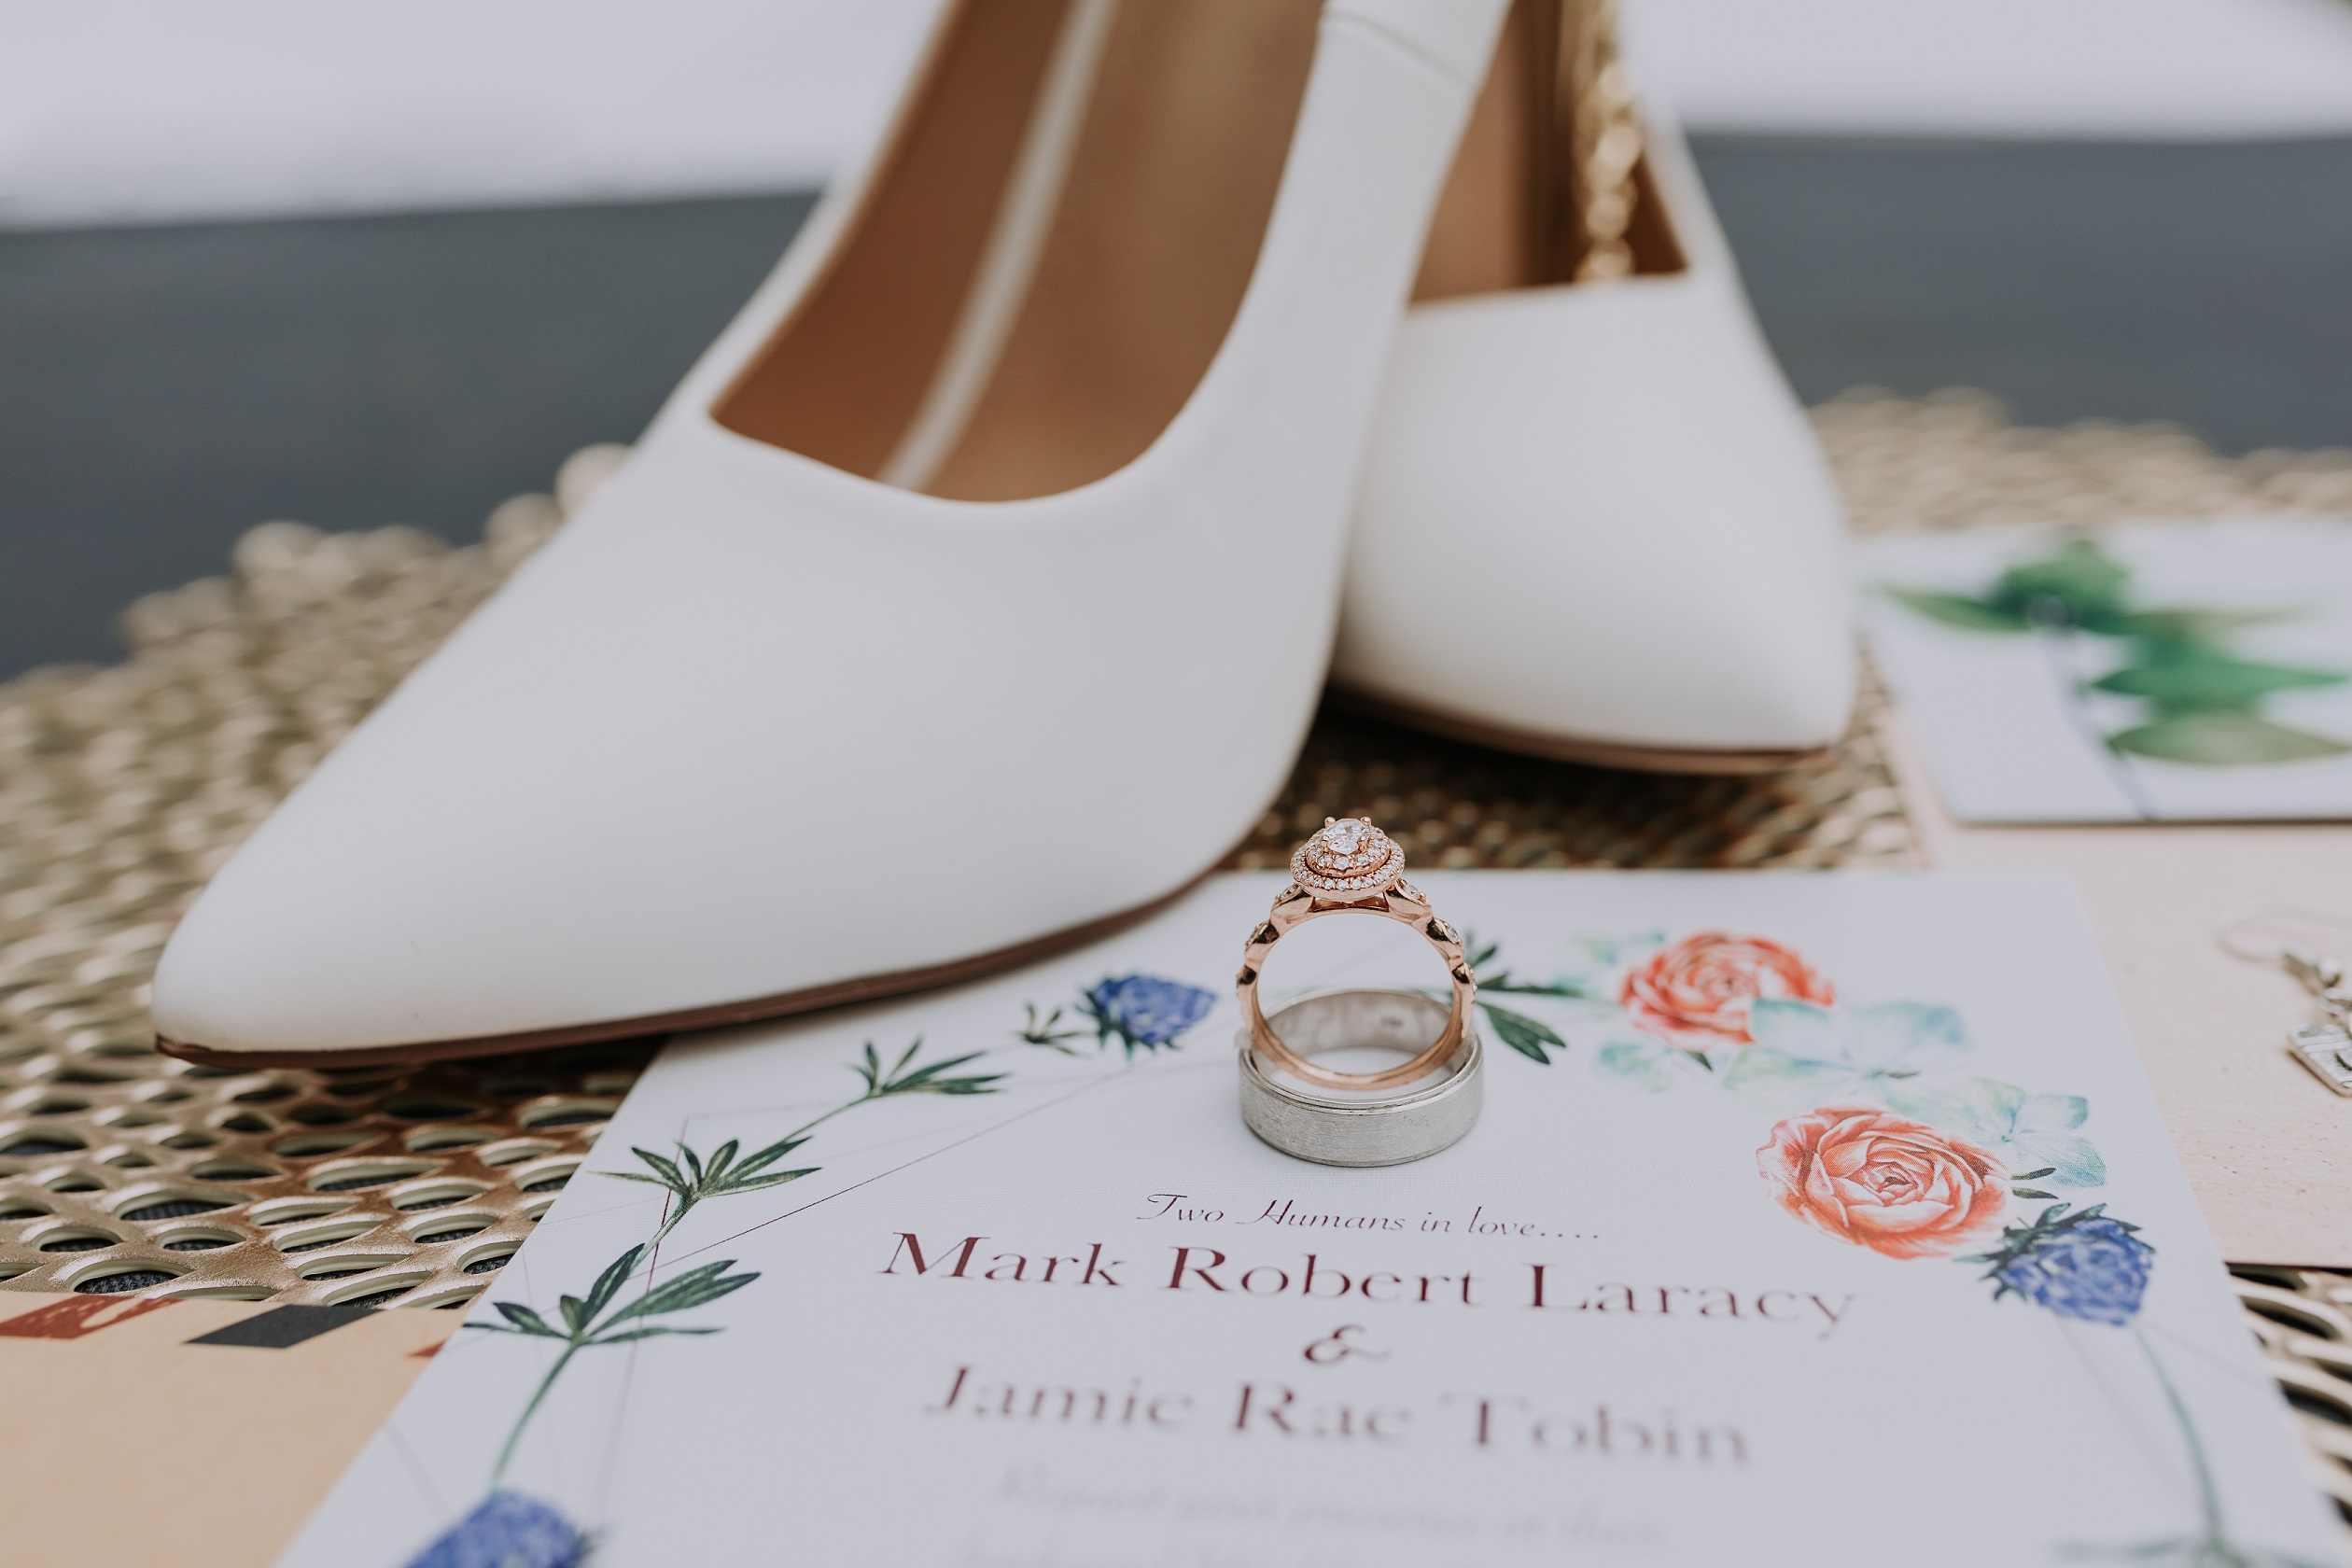
What is a Lay-flat photo? How can this style of image help me drive more business? A lay-flat styled image includes details of, for example, your invitation suite, rings, shoes, and flowers all shot from above. It is also a great way to show a variety of subjects in a single, uniquely styled frame. I am going to break down a lay-flat image for you so you can feel confident creating them for your clients, portfolio and social pages. Here is how to design a lay-flat!
Back Story
It all started during an outing to Walmart where I was on the hunt for some detail shoot essentials. This lead to the cashier asking me why I was buying dental wax when I, so clearly, no longer had the grills that had once haunted my teenage years. While the braces were worth every penny, this wasn’t my intention for the clear wax. As I explained to her,
“I don’t need the dental wax for my mouth, however, I do use it as a big hack for creating the perfect Wedding lay-flat!”
You see, I have been photographing weddings for seven years. From starting as a second shooter to working my way up to lead photographer in my own business. I have made all the mistakes and rookie moves, but I don’t let those discourage my craft or keep me from pushing myself to get better every time I pick up my camera.
Layflats used to scare the cats out of me. I was unfamiliar with the design needs and didn’t want to rush the creative process. One day I decided my clients deserved more from me and I sat in my living room, played with random objects from around my house, and continued to practice laying out what I thought would look great in an album spread.
Practice, Practice, Practice!
It really does help to take some time out of your work day and lay things next to one another to see what lines work and what colors really shouldn’t be in the same photo. By practicing the techniques that scare you most, you’ll gain more confidence in creating them quickly and easily so that when you get to a wedding album, your fingers remember what you’ve done and over time it becomes a habit!
Day-Of Shoot Tips
- Have a Detail Bag: Our detail bag actually started out just as an extra bag to carry things for our bride in, and then I slowly started to bring stuff to our clients’ wedding and it always comes with us now! This bag keeps all our goodies so I can easily find them and tote them around.
- Detail Bag Goodies: Moss, flowers, ring boxes, strings, little trinkets, Styling boards, linen materials, placemats
- Schedule time for the detail shots (best to try and get these in early, before the festivities begin!)
- Curate a nice assortment of placemats and squares of fabric.
- Create your own 3×3′ natural styling board! My dad surprised us this year by crafting one for us made out of wood. This has given our lay-flat images greater depth and provided us the creative angles to work with. We typically use a white backdrop made out of foam board to help fill in the shadows.
- Additional styling board options: Foam board, cork board, stretcher frame + canvas fabric…you could make a styling board out of any material that speaks to you + your brand!
“I love wood, I love the warmth, I love the knots and the lines.. It feels like home to me.”
Breaking Down a Lay-Flat
Materials Used:
- Styling board
- White Bounce board
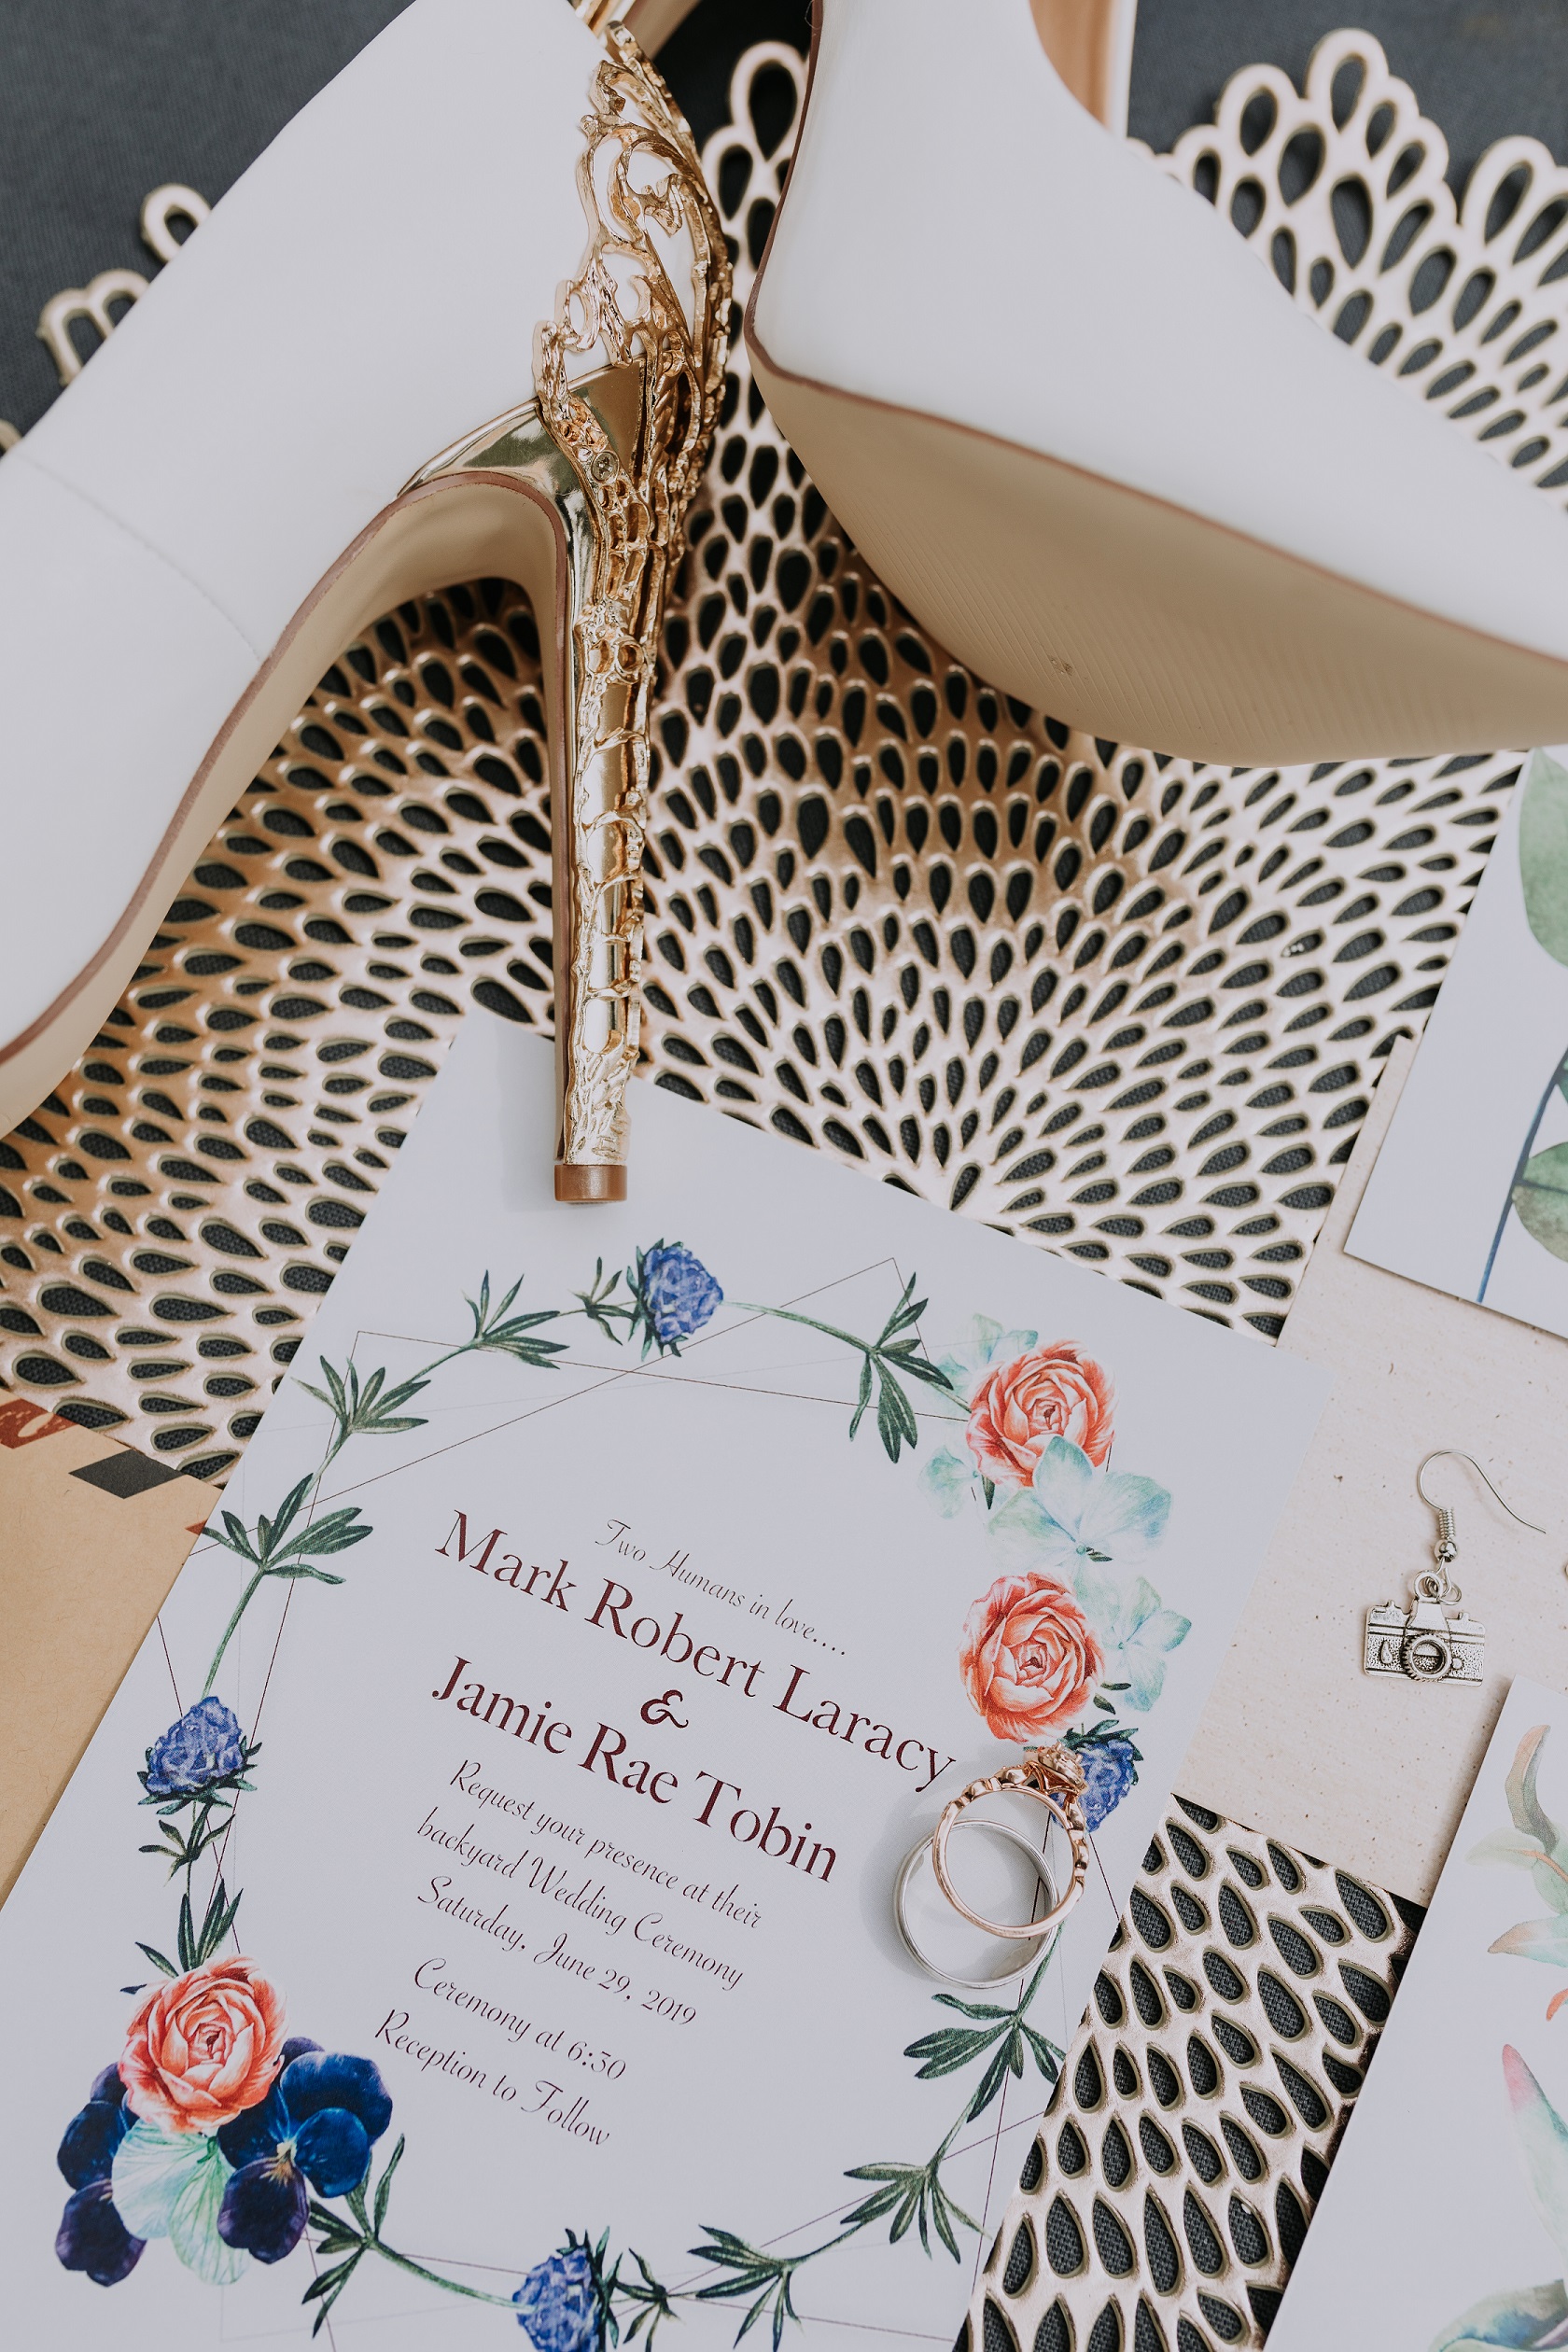
- Details (Rings, invitations, shoes)
- Camera

1. Place your board in good, even lighting.
This can be hard in a crowded dressing room so sometimes we take the board and details to a hallway, or even outside. The perfect location is wherever lighting is good and we are not in anyone’s way. If possible we like to stay near our bride and bridesmaids because we like to talk to them as they get ready so they are comfortable with us from the start.
2. Place everything in your eyesight.
I am a visual person, I am a photographer, after all, and I need to see everything so my brain can map it out visually. I like to start with one object, then work my way around and see what works next to each other for colors, designs, lines, and the rule of thirds.
3. Place a white bounce board behind your styling board.
This trick will save you so much photoshop time! This will help bounce the shadows back into your styling board so the lighting is even across and wont cause distractions. I will show you the difference in photos here!
4. Get creative!
Don’t settle on just one design, move things around and rearrange items for a completely different photo and look. Whether you change your camera angle or the items within the frame, they will help round out the wedding album.
5. When the rings won’t stay in place…
6. Get into the groove with music.
While this is an optional step, I firmly believe that music really helps the creative flow. I’m currently addicted to OO’s R+B or my girl, Shania Twain.
That’s really all there is to it! I hope this helps you in your photography career and if you want more of my little hacks just give me a shout! We are planning big things for 2019!
About the Author: Jamie Tobin of Jamie Tobin Photography
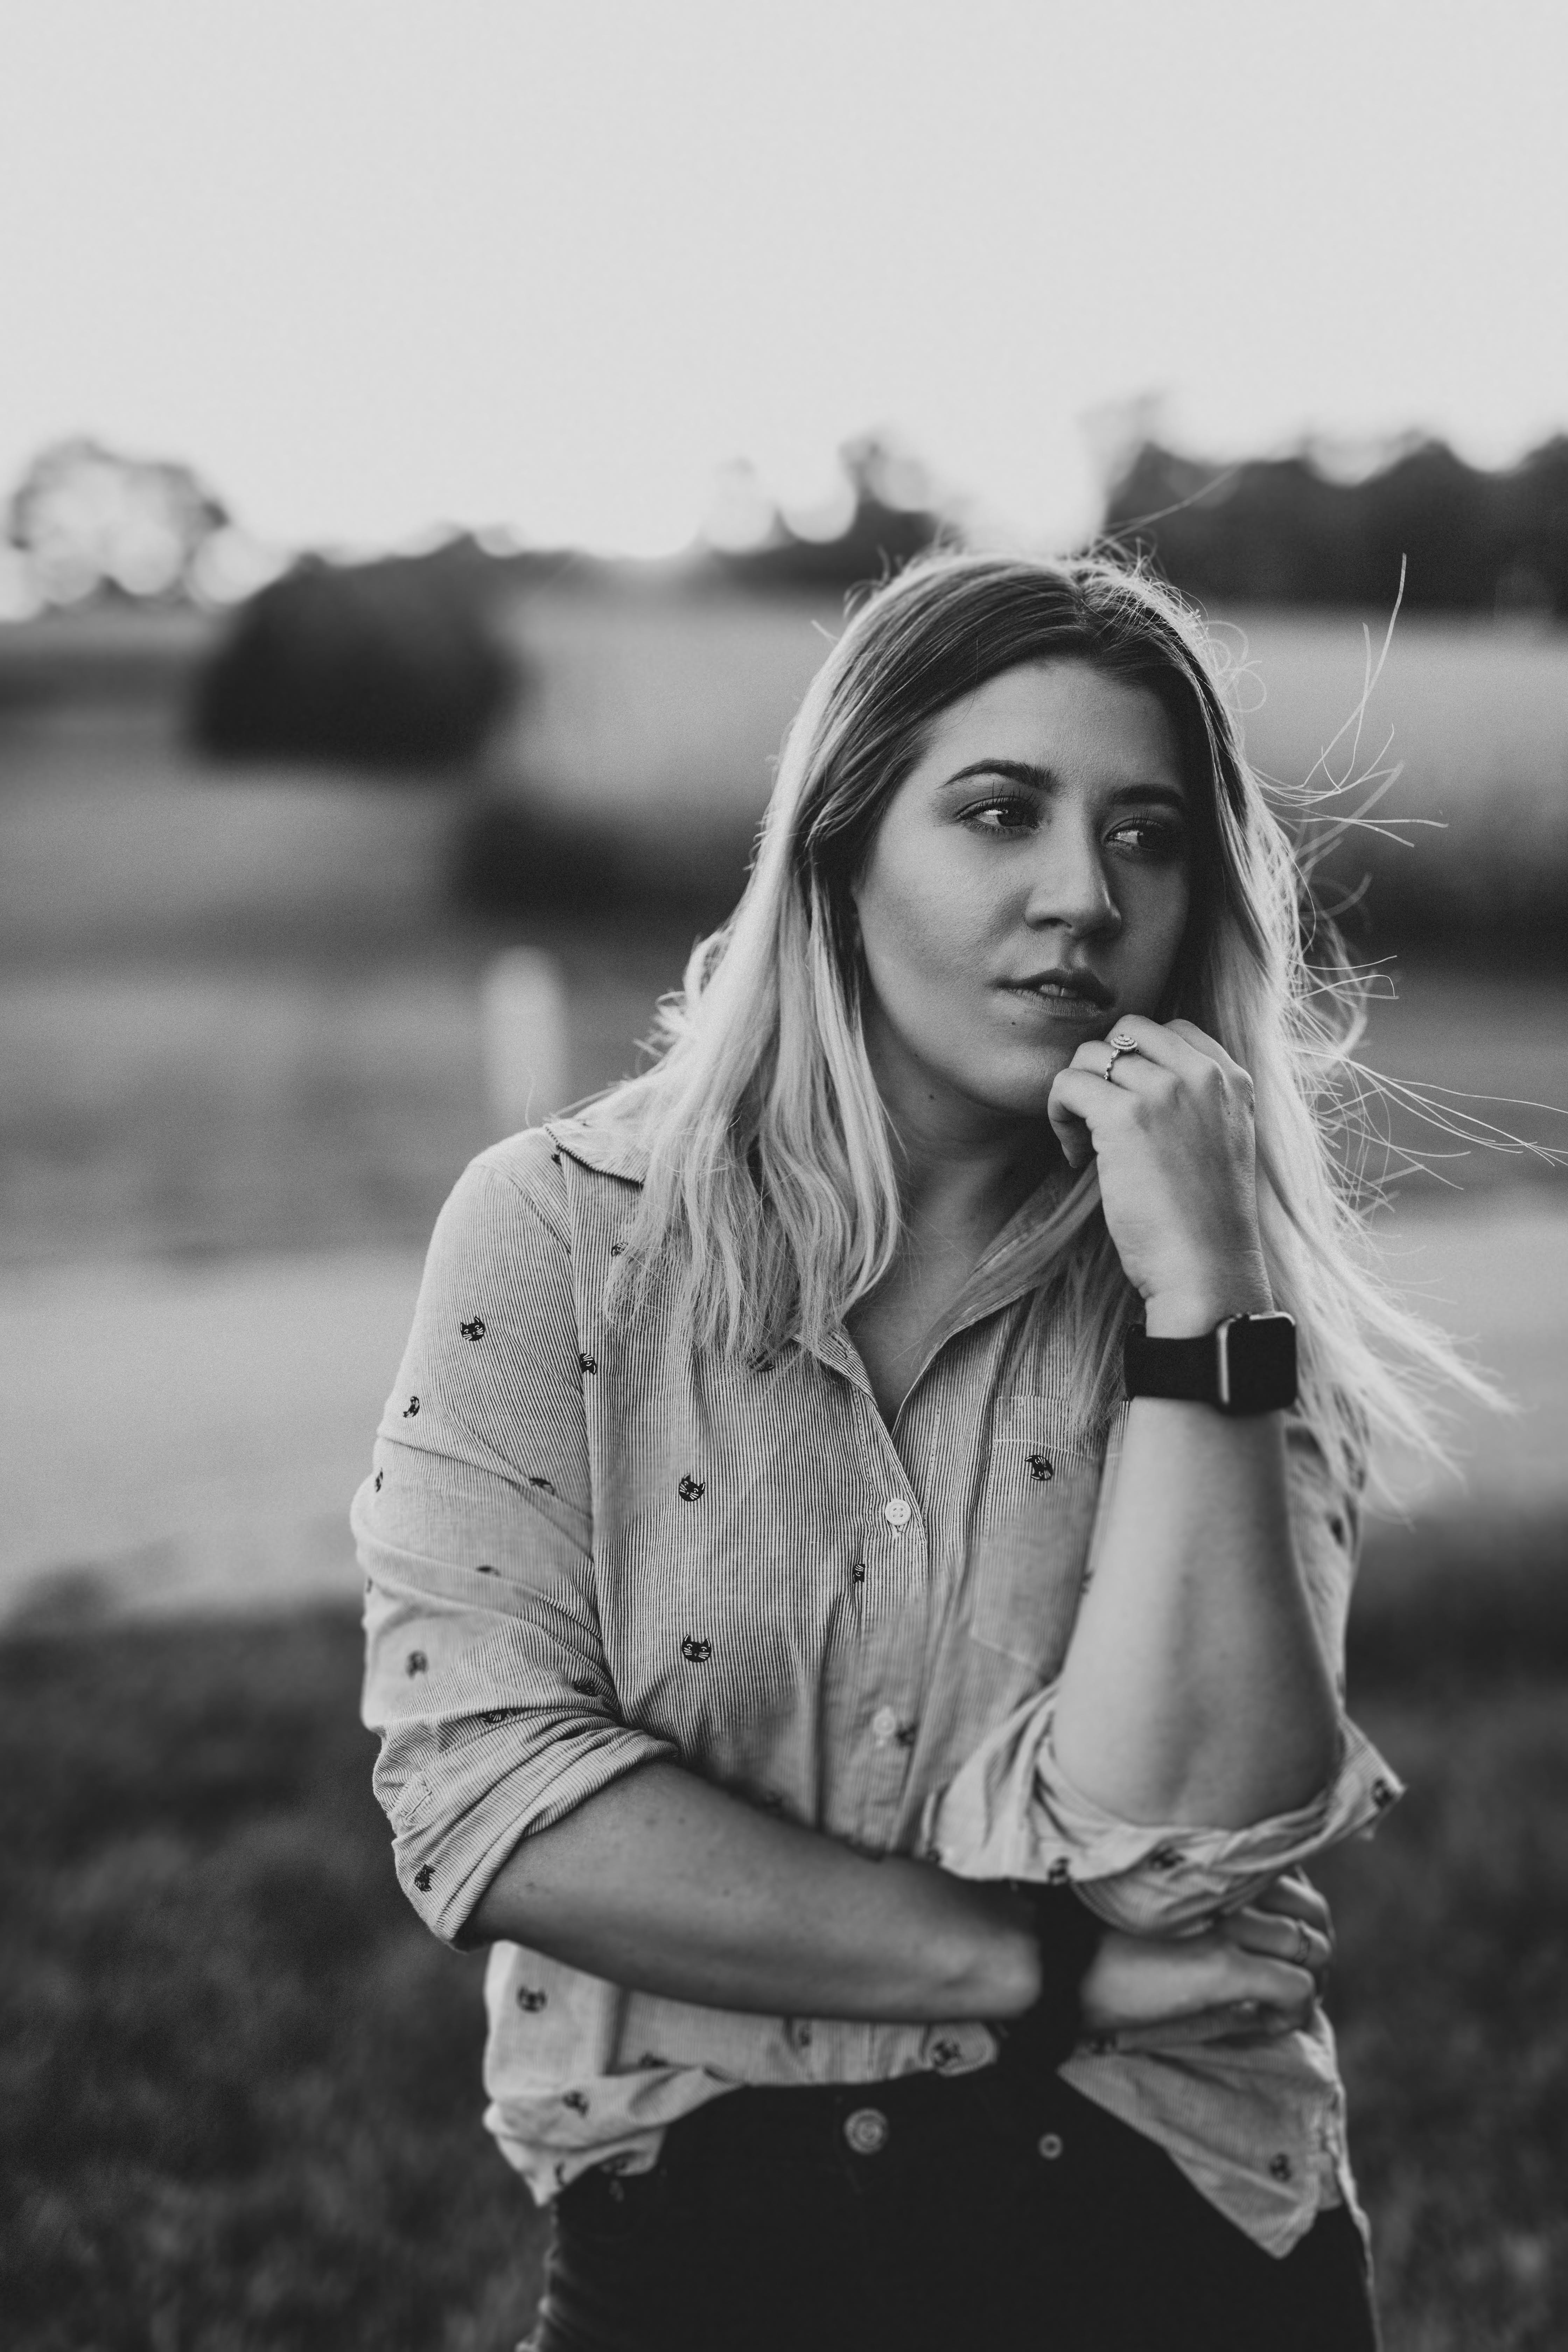
JAMIE LIVES IN THE MOMENT
“I have been obsessed with photography for so long that I can’t think of a time when I didn’t have a camera in my hand. I also love traveling, like that feeling I get when the plane takes off, I’m an adrenaline junky.” xo Jamie
Did you enjoy this article? Here are a few others from the Artsy Blog that you may enjoy!